新建 fragment
新建一个 Blank Fragment。会自动创建对应的 layout xml 文件,但是 binding 需要自己手写。
layout binding
package com.sunzhongwei.ble.settings

import android.os.Bundle
import android.view.LayoutInflater
import android.view.View
import android.view.ViewGroup
import androidx.fragment.app.Fragment
import com.sunzhongwei.ble.databinding.FragmentSettingsBinding


class SettingsFragment : Fragment() {
    private var _binding: FragmentSettingsBinding? = null
    private val binding get() = _binding!!

    override fun onCreateView(
        inflater: LayoutInflater, container: ViewGroup?,
        savedInstanceState: Bundle?
    ): View {
        _binding = FragmentSettingsBinding.inflate(inflater, container, false)
        return return binding.root
    }

}
增加 navigation 配置
app/src/main/res/navigation/mobile_navigation.xml
<fragment
        android:id="@+id/nav_settings"
        android:name="com.sunzhongwei.ble.settings.SettingsFragment"
        android:label="参数设置"
        tools:layout="@layout/fragment_settings"></fragment>
点击图标跳转进入
binding.topBar.settingIcon.setOnClickListener {
	(activity as MainActivity).navController.navigate(R.id.nav_settings)
}
添加一个编辑框小试牛刀
顺便将 layout/fragment_settings.xml 改成 LinearLayout
<?xml version="1.0" encoding="utf-8"?>
<LinearLayout xmlns:android="http://schemas.android.com/apk/res/android"
    xmlns:tools="http://schemas.android.com/tools"
    xmlns:app="http://schemas.android.com/apk/res-auto"
    android:layout_width="match_parent"
    android:layout_height="match_parent"
    android:padding="10dp"
    android:orientation="vertical"
    tools:context=".SettingsFragment">

    <com.google.android.material.textfield.TextInputLayout
        android:id="@+id/time"
        android:layout_width="match_parent"
        android:layout_height="wrap_content"
        android:hint="执行时间"
        app:suffixText="分钟"
        android:maxLines="1">

        <com.google.android.material.textfield.TextInputEditText
            android:layout_width="match_parent"
            android:layout_height="wrap_content"
            android:inputType="number" />

    </com.google.android.material.textfield.TextInputLayout>

</LinearLayout>
注意这里使用了 material design 的组件,需要确保以下配置:
build.gradle
implementation 'com.google.android.material:material:1.7.0'
app/src/main/res/values/themes.xml
<!--
    <style name="Theme.Test" parent="Theme.MaterialComponents.DayNight.DarkActionBar">
-->

<style name="Theme.Test" parent="Theme.Material3.DayNight.NoActionBar">
获取配置
这里分两大类配置
- 从 SharedPreferences 获取的配置
- 从蓝牙设备获取的配置
从 SharedPreferences 获取的配置
binding.mac.editText?.setText(getCacheDeviceMac())
从蓝牙设备获取的配置
这个就相对复杂一点。
复杂的原因是,有一个全局的 ViewModel 在每秒发送一次查询请求。 返回的数据中,包含了所有配置项的信息。
如果通过 livedata 监听每个配置项的值,会出现编辑过程中,值被覆盖的情况。
解决方案:
- 初始化时,监听一次配置项的值;
- 或者一直监听值的变化,只在编辑具体项目时,不更新 edit text 的值
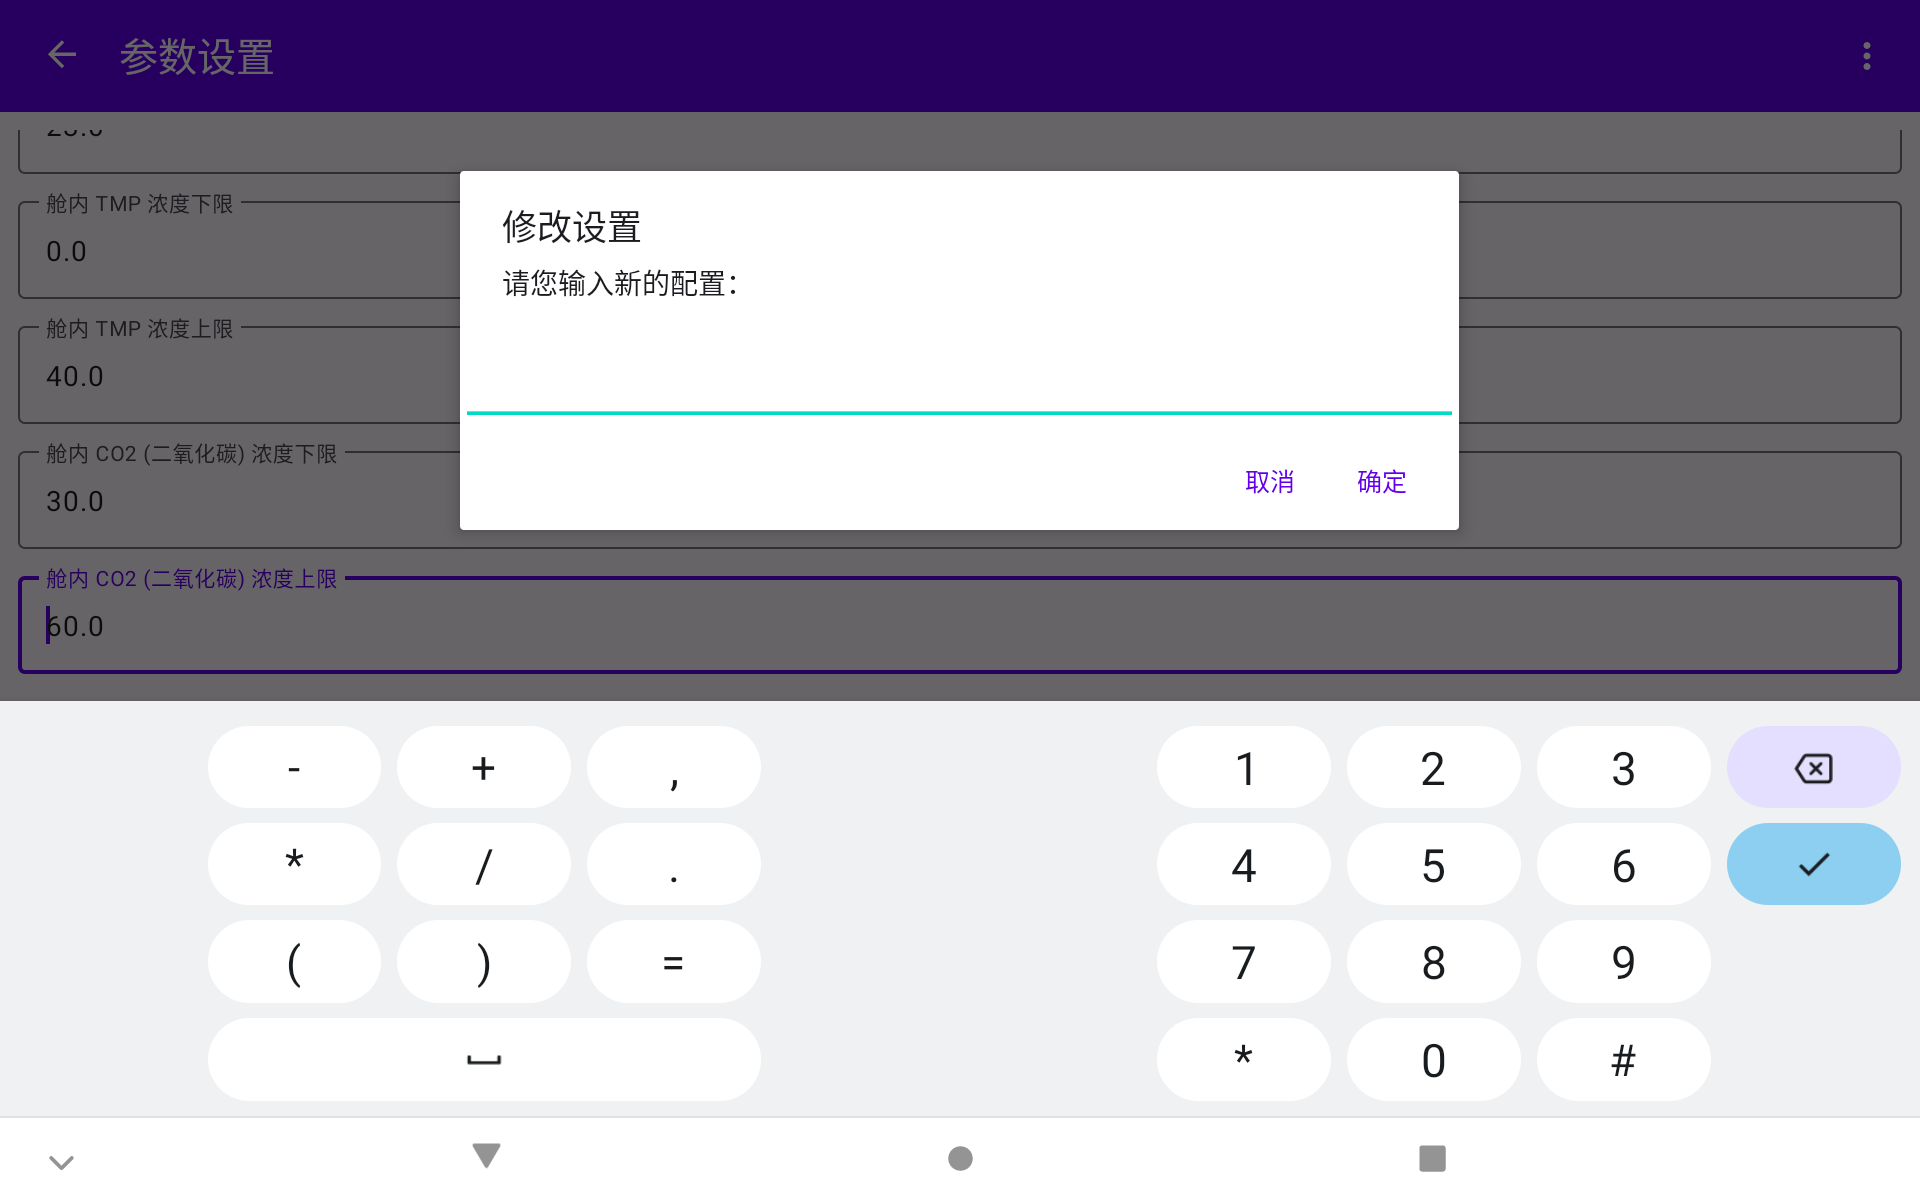
- focus 时,弹个对话框出来,里面包含一个输入框,输入新值,提交。这样就不需要担心 edit text 值被刷新的情况了。而且实现也简单 (最终我用了这个方案)
配置项过多时
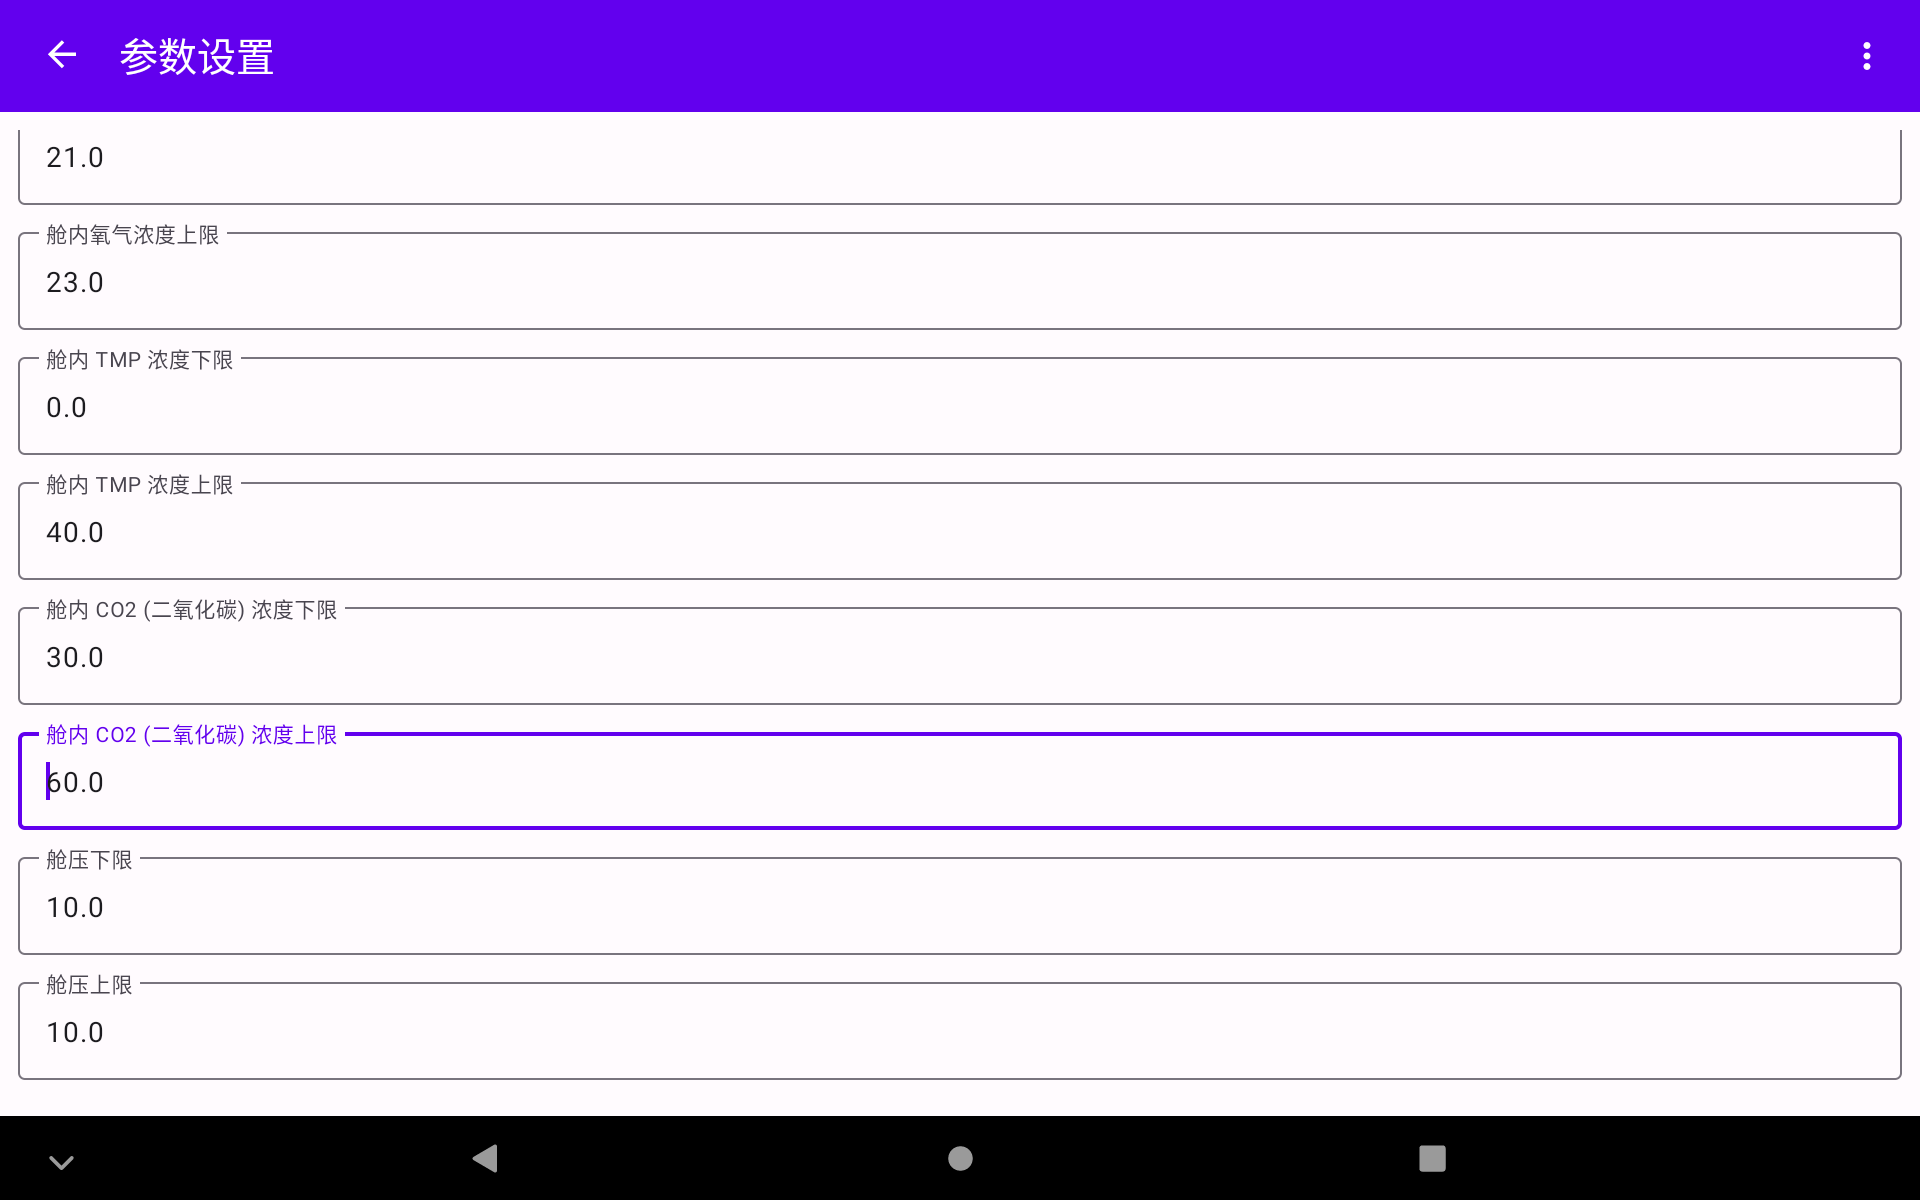
在 EditText 控件外层再套一层 ScrollView,由于 ScrollView 内只能有一个元素,所以增加一个 LinearLayout
<?xml version="1.0" encoding="utf-8"?>
<LinearLayout xmlns:android="http://schemas.android.com/apk/res/android"
    xmlns:tools="http://schemas.android.com/tools"
    xmlns:app="http://schemas.android.com/apk/res-auto"
    android:layout_width="match_parent"
    android:layout_height="match_parent"
    android:padding="10dp"
    android:orientation="vertical"
    tools:context=".ui.settings.SettingsFragment">

    <ScrollView
        android:layout_width="match_parent"
        android:layout_height="match_parent">

        <LinearLayout
            android:layout_width="match_parent"
            android:layout_height="match_parent"
            android:orientation="vertical">

			... 多个输入框
效果图
界面布局优化
为了有效利用界面的空间,可以考虑一行展示多个输入框,例如
- 相关的设置项放在一行。高低阈值
- 重要的配置项放在前面
关于作者 🌱
我是来自山东烟台的一名开发者,有感兴趣的话题,或者软件开发需求,欢迎加微信 zhongwei 聊聊,或者关注我的个人公众号“大象工具”, 查看更多联系方式

